


Tonight I got a little crafty! I was looking for something to make for this upcoming event that I am having and well, I came across a blog.... Craft Haven. She made treat bags with Turkeys!!! (Click on the link and it should take you to her Oct. 17th post) I thought these were really cute and I thought I'd try to cut EVERYTHING with my new cartridge from CTMH- Art Philosophy.

I did it!!! and I did not use any scissors!!! Not even ONCE! Everything on this turkey was cut using my Cricut Art Philosophy Cartridge!!!
Okay, now to the fun part. Every measurement you'll need is right here :). Now you can also cut out a topper to your treat bag using the different cuts (Like Craft Haven did on hers). I think the Square 4 or Square 8 would be cute!! BTW, this whole project is ONLY 10 cuts!!
For this post I will use the exact word underneath each cut in the Art Philosophy book that comes with the cartridge. If you have any questions, just e-mail me! Dreamwithpaper@gmail.com

1. Cut <Circle1> (pg 21) at 1 inch in Bamboo cardstock. This will be the head.
2. Cut <Circle3> (pg 41) at 2 inches in Bamboo cardstock as well. This will be the main body.
3. Sponge both of these with Chocolate ink.
4. Cut <Circle3> (pg 41) at 2.5 inches with Cranberry cardstock. Cut this in half between the scallops on both sides.
5. Cut <Banner3> (pg 39) at 3/4. This is for the gobbler.
5. Sponge both 4 and 5 with whatever red ink you have, I happen to have Holiday Red, so I just used that.
6. Cut <Circle3> (pg 41) at 3 inches in Chocolate, cut in half between the scallops on both sides.
7. Sponge Chocolate with Chocolate :)
8. Cut <Leaf2> (pg 34) at 1.5 inches with Sunset cardstock. Sponge this with whatever orange, I used Goldrush. Now cut this apart in three. You'll only use the smaller outside pieces.

9. Cut <Banner4> (pg 49) at 1/2 inch with yellow cardstock.
10. Cut <Rctngle1> (pg 44) at 1/4 with yellow cardstock. (This is the buckle for the hat).
11. Sponge both 9 and 10 with orange ink, I used Goldrush.
12. Cut 2 <Rctngle1> (pg 44) at 3/4 with Black Ink. Make sure to cut TWO of these!
13. Use a small hole punch to cut two black eyes.
Now you're ready to assemble!!!

1. Take the two eyes and beak and place the on the 1 inch circle cut from Bamboo cardstock. Make sure to place everything a little lower because the hat will go on top of his head.
2. Place the gobbler under his head, directly underneath his beak.
3. Now you're going to assemble the body. Put the head to the side. Take the two outer sides of the leaf and put them underneath the main body (The Bamboo cardstock circle). These will be his feet.
 This is the back.
 This is the front. Put the feet a little close together. Sorry this picture is blurry!!!
4. Now take the red circle that is cut in half and place them behind this piece. Try to be careful and not show the sides that you cut around the feet area. At the top, you can show the pieces overlapping because the head/hat will cover it up.
 Front
Front Back
Back5. Now do the same with the Chocolate cardstock that was cut at 3 inches.
 Front
Front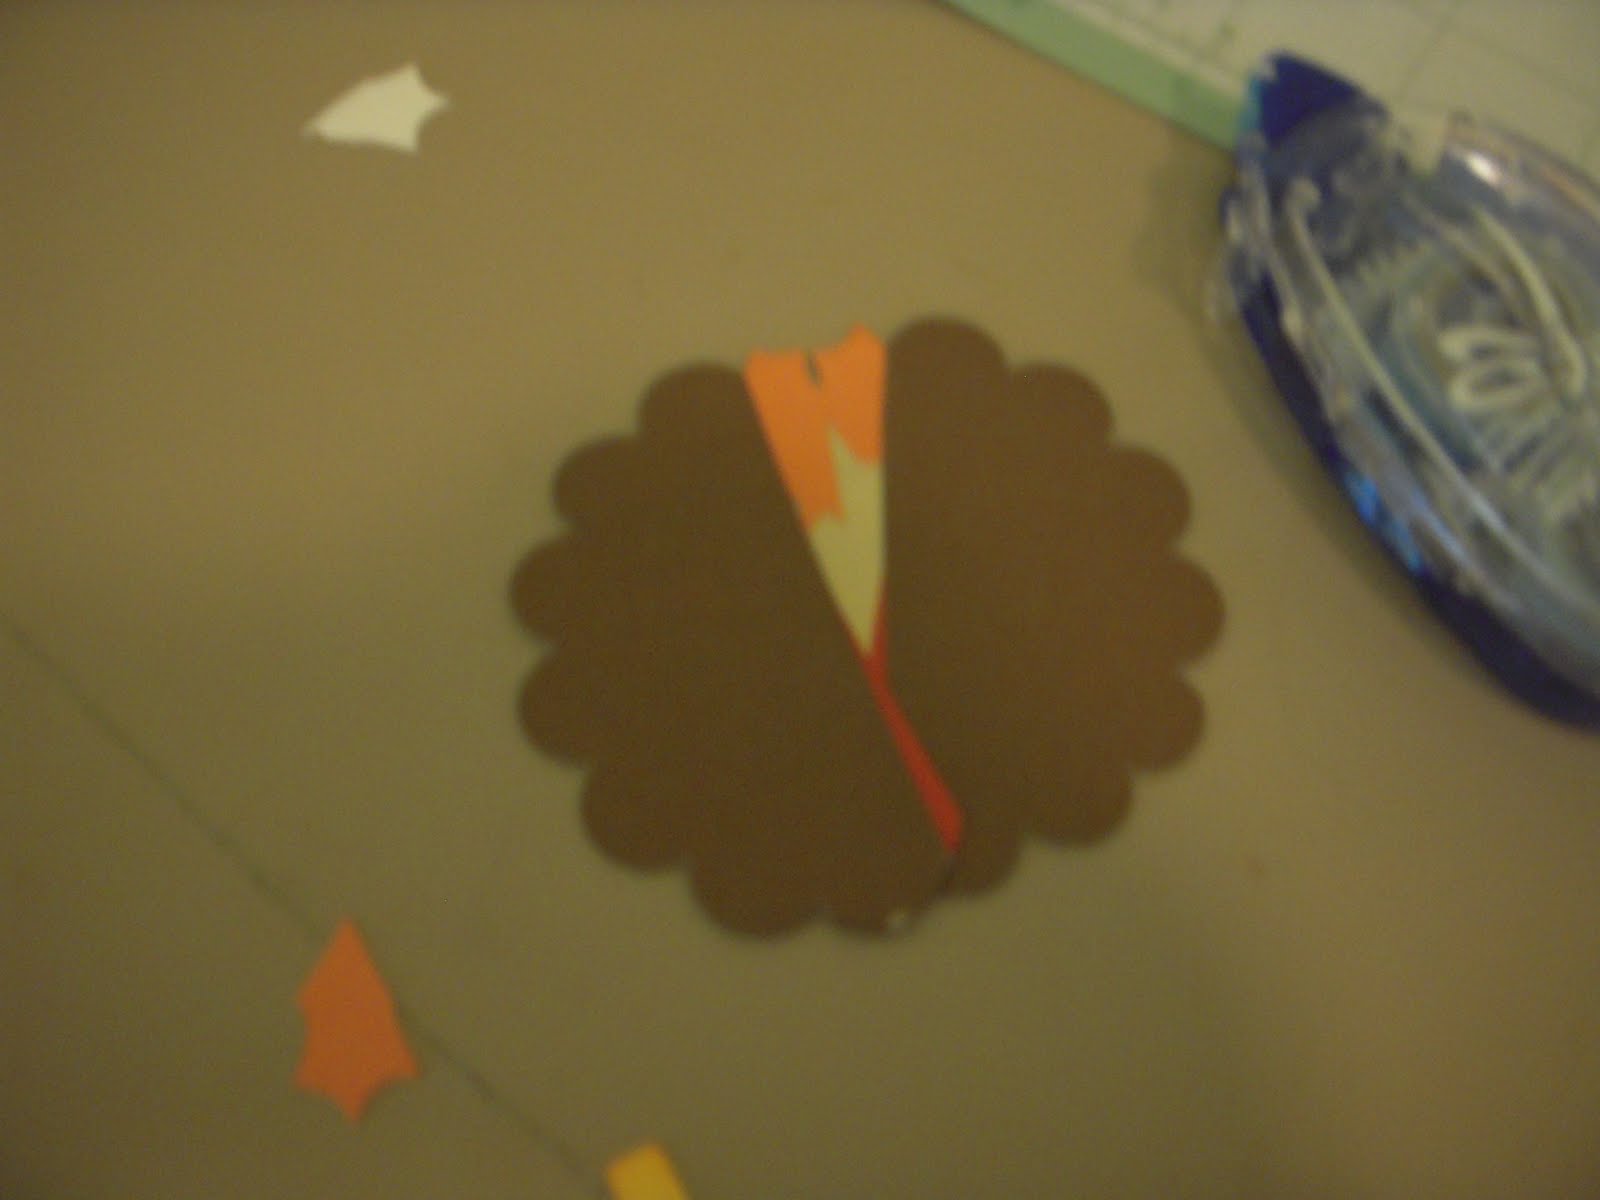 Back
Back6. Now onto the hat. Put the body to the side. Now take the two black pieces and fold one of them completely in half, hot dog style and snail it in half.


7. Assemble the hat by snailing the tall rectangle to the folded one, creating a hat. You'll put the folded piece in front with the yellow buckle on it.

8. Take the hat and snail it to the top of the turkey's head. (No picture!! Sorry!!)
9. I used "Pop Dots" to attach the turkeys head to his body.

The finished product!! Isn't he so cute!!
Remember, You can still order the CTMH Cricut Art Philosophy cartridge for $99.00 which includes three coordinating stamp sets and three coordinating chip board pieces.
Let me know if you have any questions! And look forward to other paper piecing characters using the CTMH Art Philosophy cartridge in the future!! I have to make a Santa!!
3 comments:
Oh My Goodness! This turkey is absolutely adorable! Permission to C.A.S.E.? (giving you total credit, of course) :-)
Absolutely!! Enjoy! :)
Awesome! Thanks for your hard work!
Post a Comment