»

Tuesday, June 18, 2013

Rocking Chair Makeover!

Hey Everyone!

I've been away for a while, having a baby.. ya know! She is 11 weeks and amazing. We did not decorate a room for her before she came because we have a huge master bedroom. I figured she would just sleep with us in our room. Right now she has a nice little set up of her dresser (which is also her changing table!) and her crib. So I have been designing her room in my head for a while now! I knew that I wanted her room to be black and white damask with hot pink, so here is something that will go in her room. Creating her room is going to take a while, she's going to be in our room for at least 3 more months (I think!), so I've got time!

Anyways, here is the first installment of my DD's room! Her rocking chair. In the beginning, we decided not to get a rocking chair because I didn't want to spend the money and I think they are not useful after the first year or so. We opted for a rocker/recliner in our living room, which I use everyday. Anyways, when I saw this rocking chair on a website for $5.. I KNEW I needed it for her room! It was only $5 right?! Here's a picture of it...

Not very appealing.. but the wheels in my head had already started cranking with design details! So after a whole weekend (I told my DH that I was going to finish this project in a weekend), it is finished!

Without Further Adieu....


Looks much better right?!?! I made a pillow too because I had extra fabric left over! I love the way it turned out. I cannot wait until I finish her room!

The cost break down was...

Chair- $5
Spray paint- $13
Primer- $0 ( I already had it)
Fabric 2 yards- $15
Ribbon- $2
Pink trim 2 yards- $4
Foam :| (Because my dog decided to rip part of it apart....)- $17
Buttons- $4
Needles to put the buttons through the foam- $5
Upholstery thread- $2
Final cost- $67 (Can't beat that for a custom chair!!)

Friday, October 26, 2012

Pumpkin Doughnut Muffins

Hello Everyone!

Long time no see :).

Thought I'd post a recipe today for Pumpkin Doughnut Muffins. My DH's reaction when I told him I was making this, "How can it be a doughnut if it's a muffin?"

Oh just wait!

**I will tell you that these aren't as sweet as most muffins, so the extra cinnamon/sugar topping is great. I also only put the cinnamon/sugar and butter on the top of the muffins. And I also used Pumpkin Pie spice instead of just cinnamon.


Pumpkin Doughnut Muffins

adapted from Everyday Food
Print Recipe

3 cups all-purpose flour
2 1/2 teaspoons aluminum-free baking powder
1/4 teaspoon baking soda
1 teaspoon salt
1/2 teaspoon ground cinnamon
1/4 teaspoon grated nutmeg
pinch of ginger
pinch of cardamom
15 ounce can pumpkin puree
1/3 cup buttermilk
1 teaspoon vanilla
10 tablespoons cool unsalted butter
3/4 cup brown sugar
2 large eggs

3/4 cup granulated sugar
2 1/2 teaspoons ground cinnamon (Or Pumpkin Pie Spice, probably only 1 1/2 -2 tsp)
4 tablespoons unsalted butter, melted


Preheat oven to 350. Butter and flour a standard 12 cup muffin pan.

Whisk together dry ingredients in a medium bowl. Whisk pumpkin, buttermilk, and vanilla in a small bowl.

Cut butter into tablespoons and beat until smooth. Add brown sugar and cream until light and fluffy, about five minutes. Beat in eggs, one at a time, until blended, scraping down the bowl as needed.

On low speed, alternate adding flour and pumpkin, beginning and ending with flour in 3 batches, until just combined. With a spatula, give the batter a couple of good folds to ensure all of the flour and pumpkin is incorporated.

Divide the batter between the muffin cups. Bake 28-32 minutes, or until an inserted toothpick comes out clean. Cool in pan on wire rack for 10 minutes.*

Combine granulated sugar and cinnamon in small bowl. Melt butter and brush over warm muffins. Roll muffins in cinnamon sugar. Store in airtight container up to 1 day. (I melted the butter in a small dish and dipped the top of the muffins in it and then dipped them in the pumpkin pie spice/sugar mixture.)

*To freeze, cool muffins completely, then freeze up to 3 months. Reheat about 10 minutes in 350* oven, then brush with butter and roll in cinnamon sugar.

Good luck and happy eating!!!

Sunday, July 8, 2012

Cheater Homemade Dog Food

Hey Everyone!

I hope ya'll are having a wonderful weekend! My DH and I have had a really quiet weekend, thank goodness! We mowed our lawn yesterday and  then just lazed around the house. It was wonderful! I think we really needed it after working so hard on our flooring.

Anyways, I spent Thursday riding the river with my mom, aunt, and cousin. My cousin just got a puppy, Rihanna. She is SUPER cute, so sweet, and laid back!! (It's the dog everyone wishes for!!!)


She is adorable!!

I was telling her my recipe for my dog food that I make. I call it a cheater method because I used canned dog food as well.

I ended up making it because my DH and I were literally spending over $50 a month on dog food and that's a conservative number, since getting Scarlet. Zoey and Scarlet go through 2- 28 pound bags of Rachel Ray's Nutrish. (We had a REALLY hard time finding a dog food for Zoey that she wouldn't get sick on. We went through about 5 choices and FINALLY found this one that she LOVES! Yes, it's a lot. But most of the money goes to rescuing animals.). Zoey would eat a half of a can of the big Pedigree dog food. Scarlet eat's a half of the small Pedigree Puppy canned food. (I think the can says that they should eat WAY more, but we just could not afford it!!) We'll say that the big canned dog food is $1.15 a can and the small one is $.68. This equals $17.82 for Zoey a month and $10.54 for Scarlet. This is $28.36 a MONTH before taxes!!! This doesn't include their dry food either! Which I think is about $35 a bag (and they go through 2 a month!!)

Here's the Recipe:

-White Rice
-Vegetables (I use peas, carrots, and broccoli)-Canned/frozen/fresh
-Canned Dog Food

1.) Cook the rice. I usually cook 6 cups at a time. This equals 12 cups water and 6 cups rice. Bring your water to a boil, add the rice, and simmer until its finished. I usually add bullion to this as well. Either Chicken or beef, whatever you have. Let this cool. I only use half of this at the beginning, I freeze the other half so I have it ready to go.


2.) Put the rice in a bowl, and add 1/2 can of each the big can and the small puppy can. (Since I half the rice, I use 1/2 can of large dog food and 1/2 can of puppy dog food in each batch.) Mix in 1/2 cup of each of the veggies, or more if you'd like.


I give Zoey 1.5 cups a night and Scarlet 1 cup. They LOVE it!

That's it! That's all I do.

But let me explain a few things:

-I only use white rice because I read on a dog website that it is easier for dogs to digest. Brown rice is harder for them to digest, so some of the nutrition is wasted. 
-I used canned dog food (right now) in the recipe, because my DH bought bags of the food before I told him that I was switching over to homemade dog food. The Pedigree dog food has vitamins/oils that are healthy for the dogs. So, if you want to spend less money and feed your dog more without doing all the work, this is a great recipe. I will eventually add chicken and stop using the canned dog food when I run out. I have bought roasting chickens on sale for about 3-4 dollars a piece. You could also use canned chicken. I heard that you could give them tuna as well, just do it once a week as the mercury could hurt them if you use it more often.
-Veggies: You can use frozen, canned, or fresh. I prefer frozen because then they don't get smashed as much. (Imagine using canned peas, their food would be green from smashed peas!) Also, DO NOT USE corn or beans, this is very hard for them to digest and again, cannot get the nutrients from it. This is a waste of money. Green Beans are great because of the fiber. I will start adding green beans, but I didn't buy them this time. Also, frozen veggies are cheap! I get the $1.00 bags and they probably last 2 weeks! Also, I will say that I already have 2 of the gassiest pets (3 if you count my cat!), so I cannot say that the broccoli makes my dogs gassier. I would just try it. I think it adds a lot of vitamins, so I use it.
-Vitamins: You could probably add vitamins in the dog food, if you're not using canned food. But the veggies also have lots of vitamins, so you might not need to add them! It's your preference!
-Meat: If you decide to use meat instead of canned dog food, I would recommend chicken or turkey. I have read that beef is harder to digest as well. I would buy this when you see it on sale, if you have the freezer room.

Cost Break Down (Per Month):
Rice- $2.29 for 12 cups- $4.58 a month. I estimate that I use 2 bags a month. (I did think this was three, but my dogs go through half a bag a week.) This would be cheaper if you bought in bulk. My DH and I will be buying this at Costco from now on. We needed to see if they liked it first though!
Frozen Vegetables: $6.00 (I use probably 6 bags a month!)
Canned Dog Food: $5.50 I probably use 6 cans (3 small/3 big) a month.

Total: $16.00 a MONTH!! (This is a rough total.. so it might be a little different for you. I also have 2 Weimaraners, which are big dogs- My 4 month old is like 45 pounds and my 5 year old is 65 pounds.) This is over a $10 savings a month! I know that might not mean a lot to you, but say that you times that by 12 months. That's a $120 savings over a year!

Sorry this was a long post! I hope this helps you decide to make homemade dog food, even if its the cheater method! If you're going to try this, make sure to only buy a little at the beginning to make sure your dog likes it.

Good luck!! :)

Thursday, July 5, 2012

Homemade Chicken Stock

Hey Everyone!

   My DH and I are getting ready to work on our new floors! (We bought the Harmonics Flooring from Costco when it was $16 off a box. I am so excited for hardwood throughout our house!!!) Anyways, while he's out at the gas station getting a Red Bull, I thought I'd quickly post my recipe for my chicken stock.

   Now, I really don't have measurements, I just throw stuff into a pot and let it simmer for a while.

Chicken Stock:
Bones from a roasting chicken (Including the stuff that comes inside the chicken.. the heart, gizzard, etc.)
3 bay leaves
1-2 tsps thyme (or sprigs of thyme, probably 3-5)
1 onion, chopped into 4 pieces
3 stalks, chopped into 3's-Don't worry about tearing the leaves off of the stalks, this adds more flavor.
2 carrots, peeled and cut into 2's or 3's
Some peppercorns (probably 10-15)
Salt to taste
Enough water to cover all of this, I usually put a LOT of water in it to where it's almost to the top of the pot. Some of this will evaporate.


1.) Put everything into a dutch oven, or a big pot, and let it cook for about 2 hours. You could probably go longer if you wanted to.

Yep, that's it! It's that EASY!!

I will tell you, one of my DH and I's favorite dinner is roasted chicken. Anytime I roast a chicken for dinner, I throw everything left over in a bag and put it in my freezer for homemade chicken stock. It is SO easy and tastes REALLY good! (So much better then the canned stuff!) And again, YOU CONTROL what goes in it! I think this is what really drives me to home cook everything. There are so many preservatives in some foods that you get at the store.

Well I hope you all had a wonderful 4th of July!

Thank you to all the brave men and women, past and present, that serve our country. I am eternally grateful!

Sunday, June 24, 2012

Homemade Trellis- Part 2

Hey Everyone!

I tried to go outside this morning (actually, it's 11.. can you even classify that is morning?) to write this, but my Scarlet was being a diva and was whining to come inside!! Zoey was loving it, now that she's my easy-going dog and doesn't mind anything! 

I think I will probably be spending most of my time outside this week when I'm home, as my DH and I have started a little construction project! We are replacing our floors with hardwood! :) My house is VERY dusty, although I've tried to vacuum everything. Hopefully we'll be done in a month (or sooner hon, if you're reading this!). This is what my house currently looks like, minus the living room, kitchen, and small dining room (we haven't got to this yet.. although I'm sure after I get home from work today we might continue to these rooms!)

(This is my dining room)

Anyways, on to the reason why I'm here today! I finally finished my Trellis!! :) I'm so excited about the way it turned out and the fact it was SOOO cheap!! :) 

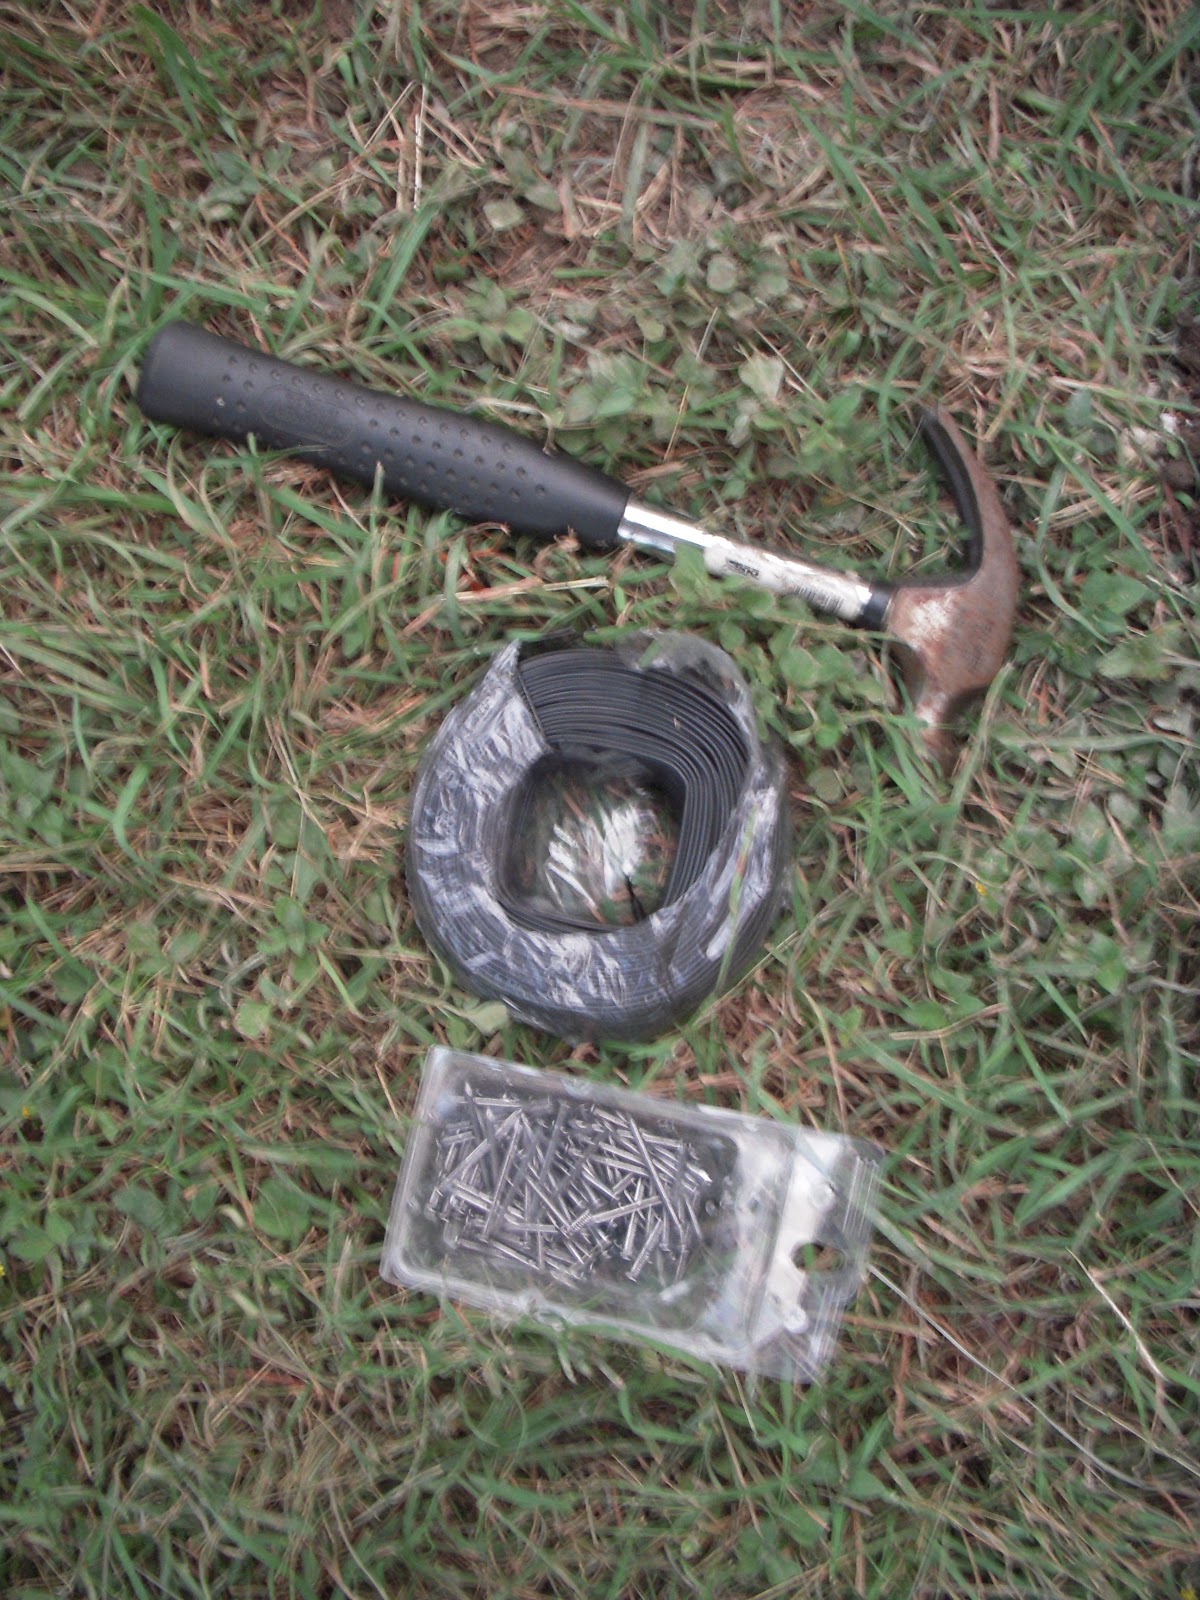
Here are the rest of the tools you'll need to finish the project. A hammer, wire (I can't remember the gauge we used, it is fairly small. You could always double it if you needed to.), and some nails.


1. Start putting nails into the wood about 10-12 in. apart. I put the nails on the back, so they weren't sticking out in the front where everyone would see them. 


2. Wrap the wire around your first nail, where you're going to start it. Then hammer the nail into the wood, on the side, so the nail is holding the wire. 


Sorry the last picture is blurry, but you can see how I hit the nail up. I did not drive the nail all the way into the wood, so I would have nail left to wrap and secure the wire.

3. Then take the wire to another nail, on the other post, and wrap it around that nail. You'll keep repeating this until you're all the way to the last nail. 


Sorry that you can't really see the wire, but it's there! :)

4. Make sure that all the wire is secured by the nails and using wire cutters (sorry forgot that you'll need this tool too!) to cut the end of the wire.


5. Plant your tree/ vine or whatever you're going to use. I put some miracle grow on mine. I also use this stuff below for about a week after I plant anything new. It's really good and adds lot of nutrients to the plants. You only use a little bit of this. I think it was around $10 at Lowes.


So, the final cost break down. I looked around online and all the trellis were starting around $50.
Wire: $6
Posts x 2: $1.96
Nails: $.50 (Around this, I only used 6)
Quikrete: $3.88

Total: $12.34

That's a lot better than $50! I

If you wanted more of a lattice look, you could always get wood and make your own too! It would be a price difference, but probably still under the cost of a wood trellis!

Good luck!! :)


Sunday, June 17, 2012

Homemade Dog Treats

Hello everyone!

I wanted to share with you guys my recipe for homemade dog treats. Since I got Scarlet, my treats have been disappearing twice as fast and those suckers are expensive! These treats below are fairly easy and cheap. You might have to go to the store for the ingredients that I use because you probably don't have wheat germ just lying around in your pantry. I created this recipe based on what I had in my pantry-- Yes, I had the wheat germ because another recipe for dog treats contained this ingredient. Anyways, here's the recipe:

Peanut Butter and Pumpkin Dog Treats

1/2 c. Peanut Butter
3/4 c. Pumpkin
1/2 c. Oil
1/4 c. Honey
1/2 c. Wheat Germ
1/2 c. Old-Fashioned Oats
1 1/4 c. Whole Wheat (You will need more of this to dust the surface of the counter to roll it out.)


Here are the ingredients. Although, I forgot to add the honey to it!


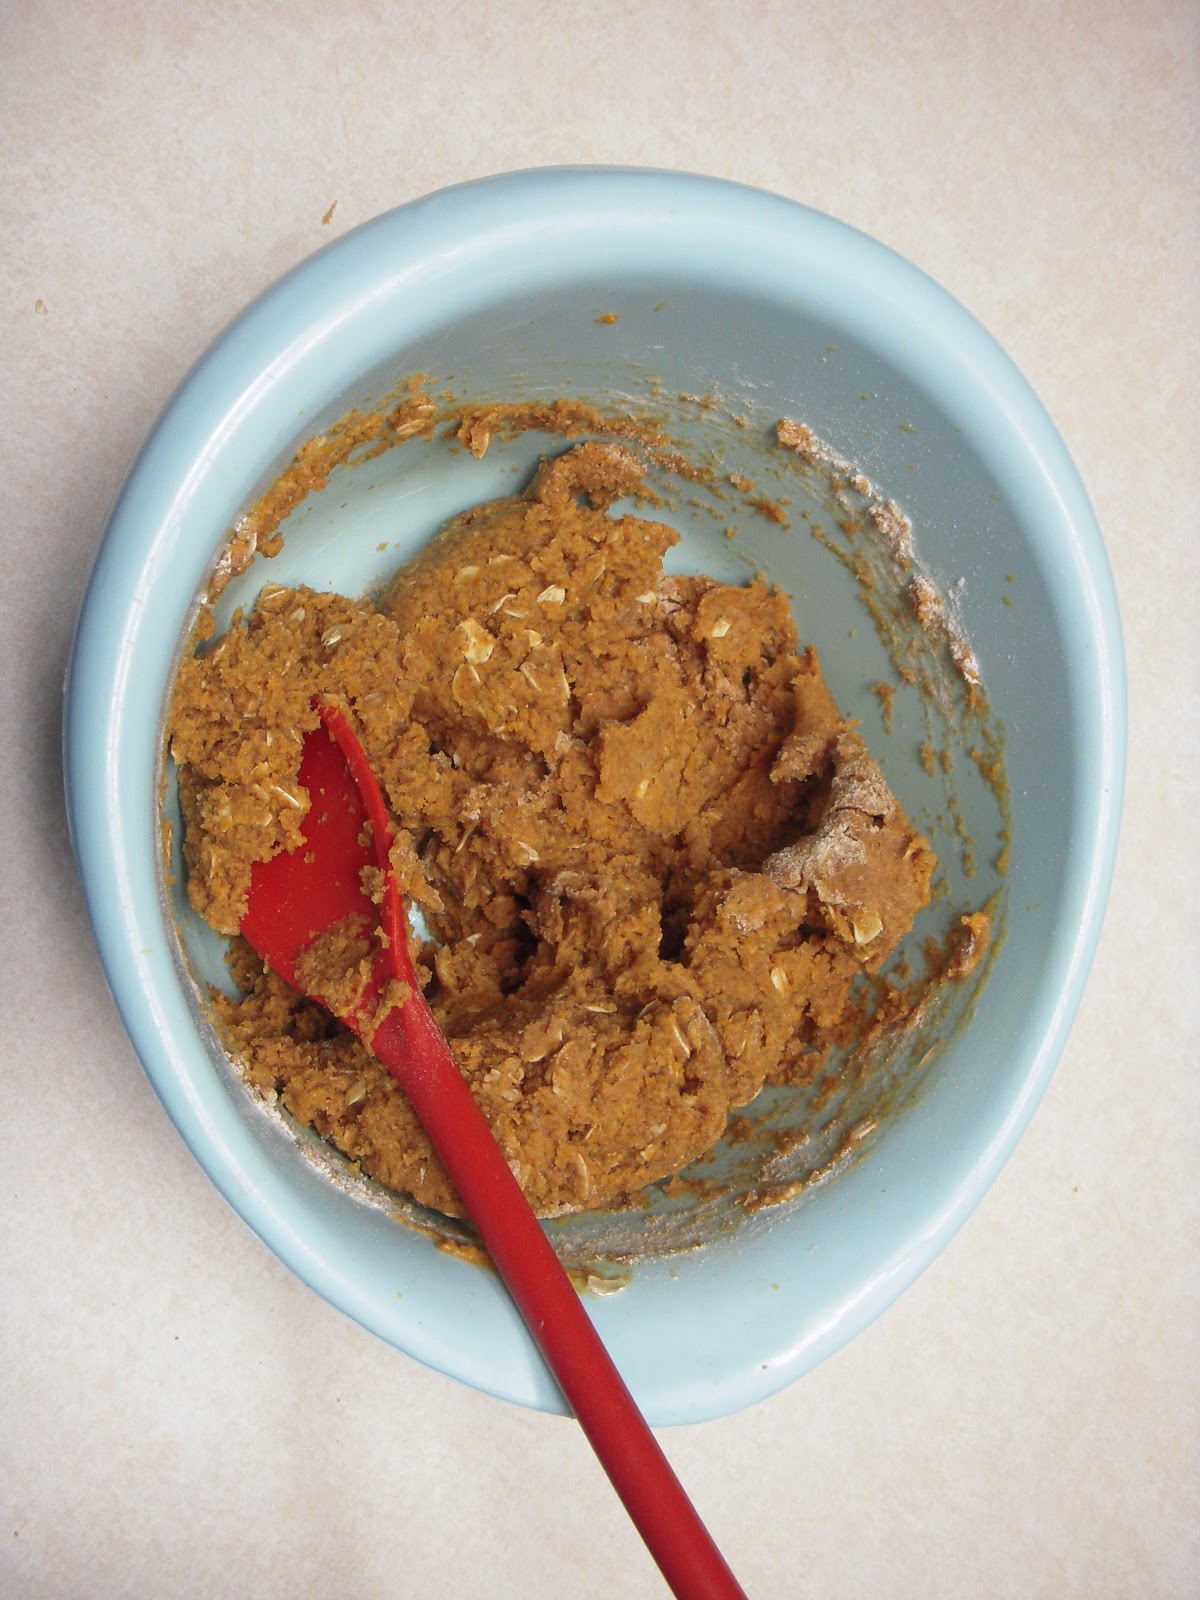
1. Mix the peanut butter, pumpkin, oil, and honey together. (Here's the picture of the honey!)


2. Mix in the rest of the ingredients, the wheat germ, oats, and whole wheat flour.


3. Spread some whole wheat flour on the counter top and roll out the dough. You'll want to roll it out to about 1/4 in. I like to have a little thicker treats. 


4. Cook at 350 degrees for 20 minutes. Back down to 300 degrees for another 20 minutes. Your cooking time might be a little different than mine because I have a convection oven. Just make sure that you check the treats about every 10-15 minutes. If you see they are getting darker than you would like, but the middle of the treats are still REALLY soft, then turn the oven down.


You can see this makes a lot of treats. (Yes, I wrap my bottom oven rack with aluminum foil to keep my oven clean! It's such a great trick!!) Make sure you let them cool before you put them away, ESPECIALLY if you're putting them in a plastic bag.
I hope you guys enjoy these! 

And here's a parting shot of my two babies enjoying a stick together! They were just sprayed by the hose before this.

I hope ya'll have a wonderful week!

Sunday, June 10, 2012

Homemade Trellis- Part One

Hello Everyone!

So about two months ago (I know.. I've been procrastinating!!!), I bought a one year white grape vine from this wonderful farm market right down the road from me. I also bought a 2nd year pomegranate tree/bush! Which, I can't wait to get some pomegranates!!!

Anyways, I knew when I bought the grape vine that I wanted to make a trellis, instead of buying one! So, I got this idea in my head and I'm running with it. This is Part One of... well I don't know how many parts because I'm still building it!

Part one is about how to install wood posts for the trellis. This is also how you install wood posts for fencing. It's SUPER easy and ANYONE can do it!!

1. Dig a hole. You want the hole to be pretty deep. Dustin said that we should dig it 1/3 of the length of the fence post, but that TOTALLY did not happen because we couldn't dig any deeper.


 This is how big my hole ended up being. My foot/shovel is to show you how deep we dug it. (It was probably about 16 inches.)


2. Put the post in the hole, don't worry about making sure it is level yet.


 3. Pour the Quikrete into the hole and spread it evenly around the post. This is when you level the post in the hole. If you're doing fencing, you want this to be exact. But I didn't really mind if it wasn't exact. You'll see later why it doesn't matter. Obviously, we did eye it and it's probably pretty level.


 4. Pour a lot of water in it, like below. There is a measurement of how much water to use, on the bag. But we just poured lots of water in it. It does soak into the Quikrete, so make sure you add enough water.

5. Spread around the Quikrete to make sure it's level in the hole.


6. Leave it alone to dry.

That's it! It is so super easy that ANYONE can install wood posts! You'll see how I'm going to finish my trellis in another post. I'll tell you that, as with any other project, I watch my budget and save money. For this project, the Quikrete was $3.88 and I bought the two 8 foot posts for $.98 at HomeDepot. I usually go to Lowes, but I couldn't pass up the awesome price of them! So this project was around $6.00. I'll tell you the final total when I am finished, but it will be WAY less than buying a trellis at HomeDepot/Lowes!

I hope ya'll have a wonderful week.. and may the odds be ever in your favor! :)